
PyTorch is an open source deep learning framework that is used as a base for many modern machine learning applications such as computer vision and Natural Language Processing. It is the Python implementation of the Torch library built in Lua. If you are familiar with the popular transformers library from HuggingFace, used in Natural Language Processing, you would know that by default the transformers library uses PyTorch as a backend (although support for other backends such as TensorFlow is also available).
PyTorch uses PyTorch tensors for computation, which are the deep-learning equivalent of numpy, but more suitable for deep learning tasks involving neural networks. These computations are much more faster, if the tensor operations are performed using a GPU. Currently the supported GPUs in most deep learning frameworks such as PyTorch and TensorFlow are those manufactured by Nvidia. To work with these GPUs you would require supported Nvidia drivers and a library developed by Nvidia called CUDA. If you have a machine with an old GPU (Nvidia GeoForce GT 640M LE in my case), you may quickly find that the most recent versions of PyTorch do not work with these older GPUs because the pre built binaries of the installers of PyTorch do not support these older GPUs. As per the official github page of PyTorch, you would need to compile and install PyTorch from source to work with older GPUs. However, the instructions on the page are not very elaborate and you may end up with a number of issues, because of these not to so obvious instructions. Further, compiling from source might take hours (6.5 hours in my case), and if you have to repeat this process because of errors you are in real bad luck. Not to mention the extra amount of time spent in installing the support libraries and packages before compiling.
Therefore, I am describing a step-wise approach which should allow you to successfully build PyTorch from source in your first attempt without producing errors and repeating the time-consuming build process. Note that the below steps are only valid for a Windows machine.
Step 1 — Install Anaconda.
Install Anaconda on your machine (this is the recommended approach by PyTorch). This would install Python by default on your PC. No need to install Python separately. Follow the official guide here, if you need more instructions on downloading and installing Anaconda on windows.
In the past, I have mostly installed Python directly and used pip as my package manager. However, since PyTorch recommends Anaconda, this time around I used Anaconda.
Step 2 — Create conda environment.
Create a new conda environment with pip in it. If you installed Anaconda, open a new Anaconda prompt.
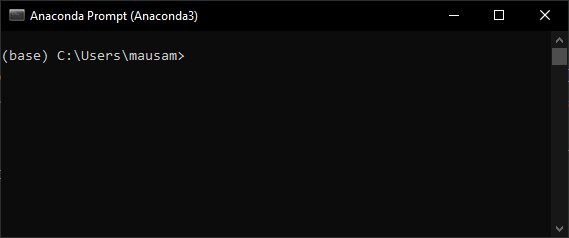
In the command prompt type the below command to create a new conda environment with pip pre-installed (Note that I have created the conda environment in a specified location. Hence, the prefix argument).
conda create --prefix D:\condaEnv pip
Step 3 — Install support packages.
Activate the conda environment like below.
conda activate D:\condaEnv
Then upgrade setup tools.
pip install --upgrade setuptools
Install other packages.
conda install astunparse numpy ninja pyyaml mkl mkl-include setuptools cmake cffi typing_extensions future six requests dataclasses
Install libuv (note that you may skip the version).
conda install -c conda-forge libuv=1.39
Step 4 — Install Microsoft Visual C++ 14.2.
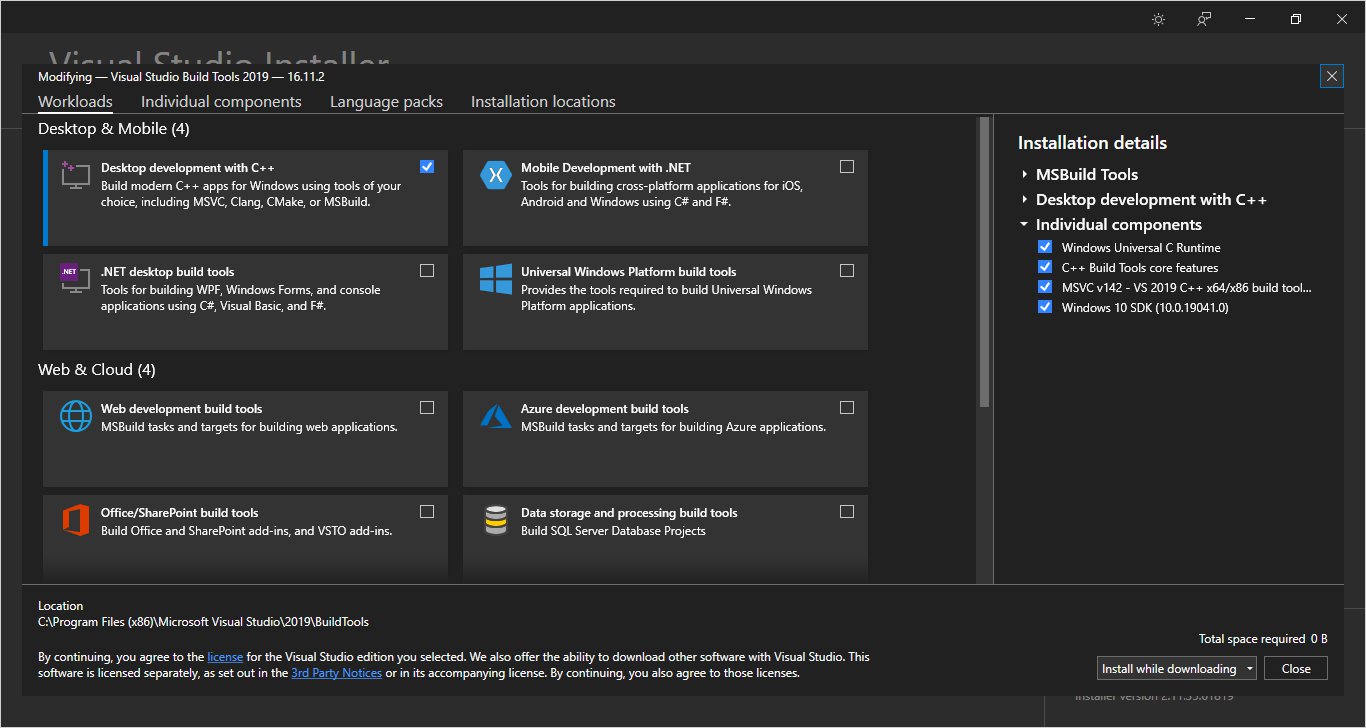
Note that the PyTorch github page would recommend that you install Microsoft Visual Studio Community edition. However, I installed Build Tools for Visual Studio 2019 instead. This is because on the GitHub page they say that they used Build Tools while compiling themselves. Further the official guide of Python also recommends installing build tools instead of the Visual Studio community edition.
Download build tools from here, and install with the following options checked. Note that for me it says total space required 0 B, because I already have these installed.
Step 5 — Install correct Nvidia driver.
This step is important, because if you miss this step, the build process might still proceed with CUDA installed on your system (one of the requirements, as described in the following step), but with a missing Nvidia driver, until later it starts producing errors. You may find your correct Nvidia driver and install it from here.
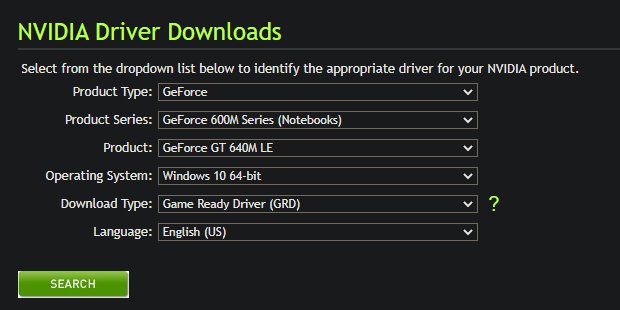
For my GPU, I found that the latest available driver from Nvidia's site was version 425.31.
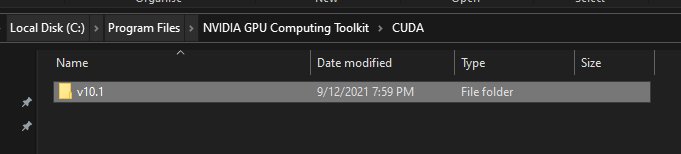
Step 6 — Install Nvidia CUDA toolkit.
This is a crucial step because you need to install the CUDA version which works with both the installed driver and the PyTorch version which you need to compile and build from GitHub. In my case the latest version of PyTorch required CUDA >= 9.2 and I found that the most recent version of CUDA which supported my driver was CUDA 10.1. Therefore, I installed CUDA 10.1. You can find the matching version of CUDA supported for your driver from the page here.

You can download CUDA from Nvidia's website. In my case the download link was this one. Also be careful that you install the version of CUDA including all updates and patches. For me, the latest version was CUDA Toolkit 10.1 update2. This is because, in my case, in my first attempt, I had installed CUDA 10.1 without the 'update2', which later produced errors while building.

When installing CUDA, the CUDA installer might also come up with it's own version of Nvidia GPU driver along with it (Interestingly some times the CUDA installer doesnot show the driver install option. This would happen if you are installing a more later version of CUDA, and since it is not supported for your driver/GPU version, it would not show the driver install option. Since you have CUDA, the build process would still proceed without the driver; until later when it starts producing errors; Hence the previous step of installing the Nvidia driver first). For me I realized that the CUDA installer was providing me a driver with version 426.00, slightly greater than the version provided from Nvidia's website earlier, but still compatible with my system. So I went ahead with the option of installing both CUDA and the driver (You may skip this option as most likely you would already have a compatible driver by this stage).
Step 7 — Install cuDNN.
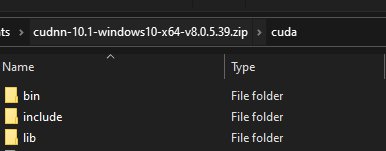
You can download it from here. Note that you would need to register/be already registered on Nvidia's page, to download CuDNN. Further, you would need to download a matching version of cuDNN for the CUDA version you earlier installed. In my case it was 8.0.5 for CUDA 10.1, which I installed earlier.

You would need to unzip the downloaded archive file and paste the files from the un-zipped directories to their respective directories of CUDA installed on your system (C:\Program Files in my case).
Step 8 — Install Magma, mkl and sccache.
Magma can be downloaded from the url https://s3.amazonaws.com/ossci-windows/magma_2.5.4_cuda101_release.7z. In this url, be sure to change the version of CUDA to the version you installed. For example, if you has installed CUDA 10.2, the url would be https://s3.amazonaws.com/ossci-windows/magma_2.5.4_cuda102_release.7z, instead.
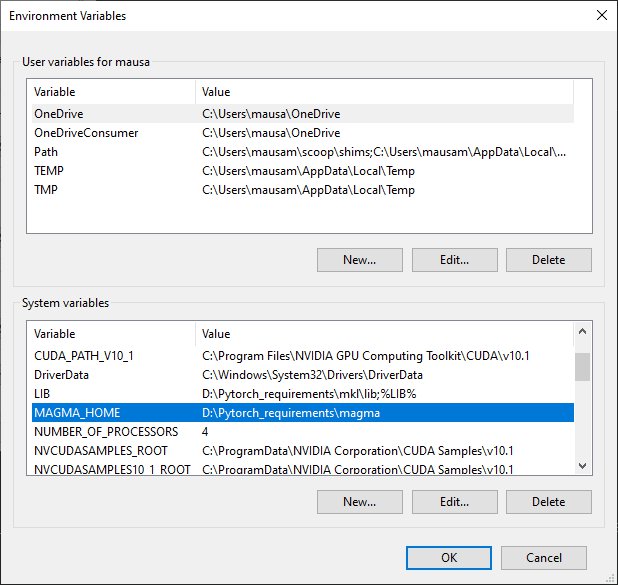
Once downloaded, unzip and store at a location such as 'D:\Pytorch requirements'. Next create an environment variable by either creating a new environemnet variable in Windows,
or, by setting up the variable in the console with the below command.
set MAGMA_HOME=D:\Pytorch_requirements\magma
Mkl can be downloaded from here https://s3.amazonaws.com/ossci-windows/mkl_2020.2.254.7z. Like before unzip this (You might need to install 7zip on Windows) and keep in a folder such as 'D:\Pytorch requirements'. Next create two environment variables as shown below:
set CMAKE_INCLUDE_PATH=D:\Pytorch_requirements\mkl\include
set LIB=D:\Pytorch_requirements\mkl\lib;%LIB%
Like before you can also save the environment variables directly in windows.
'sccache' can be installed on Windows by following the official GitHub instructions. For me, I had to first install scoop on Windows and then perform the below:
scoop install sccache
Next, set the below environment variable.
set SCCACHE_IDLE_TIMEOUT=0
Step 9 — Find CUDA compute capability of your GPU.
This step is really important as this ensures that the correct kernel of PyTorch is created during the build. You can find the compute capability from here. For my GPU the compute capability was 3.0.

Next we need to set this as an environment variable like below. Just like before, you can also directly set this environment variable in windows.
set TORCH_CUDA_ARCH_LIST=3.0
Step 10 — Clone the PyTorch GitHub repo.
You need to clone the official PyTorch Git repo as below and change to that directory after the clone process is finished. If you don't have git installed on Windows, install it from here.
git clone --recursive https://github.com/pytorch/pytorch
cd pytorch
Note if you need a specific version of PyTorch you would need to checkout that version and sync the submodules. For example if you need version 1.8.0, you would need to perform the below:
git checkout v1.8.0
git submodule sync
git submodule update --init --recursive --jobs 0
Step 11 — Build PyTorch.
Start the 'sscache' server like below.
sccache --stop-server
sccache --start-server
Ensure that you are within the cloned 'pytorch' directory and have the conda environment activated, from you command line. Then start the build process with the command below:
python setup.py install --cmake
This would start the build process. For me, the build process took 6.5 hours to compile. If you get errors like below:
ninja: build stopped: subcommand failed
then create the environment variable as shown below,
set MAX_JOBS=1
and re execute:
python setup.py install --cmake
Step 12 — Check PyTorch is able to use CUDA (GPU).
Once the above build process has compiled correctly, PyTorch would be installed in your conda environment. Open a new Anaconda prompt window, activate the conda environment and perform the below checks. If PyTorch installed correctly you should see the expected outputs as in the below.
import torch

torch.cuda.is_available()
>>> True

torch.cuda.current_device()
>>> 0

torch.cuda.device(0)
>>> <torch.cuda.device at 0x7efce0b03be0>

torch.cuda.device_count()
>>> 1

torch.cuda.get_device_name(0)
>>> 'GeForce GT 640M LE'

t1 = torch.tensor([1, 2, 3]).cuda()
print(t1)
>>> tensor([1, 2, 3], device='cuda:0')
Bonus step — build a wheel binary file, which you can use again without rebuilding!
In the steps above, after the build process was finished, PyTorch was directly installed in the conda environment from where we were building. However, in the event of installing PyTorch again, in say, another Python environment on your system, you would not want to re-build again. This is where the wheel file would come in handy. From the same terminal that you used to build earlier, execute the below command:
python setup.py bdist_wheel
This process might again take a couple of hours to finish. Once finished, you would have a wheel '.whl' file created in the 'pytorch/dist' folder. In my case it was called 'torch-1.10.0a0+git5060b69-cp39-cp39-win_amd64.whl'. You can save it on a location on your machine for future use. To install PyTorch using this whl file, you would need to activate your Python environment and install using pip or conda like below. Note that you would still need CUDA, cuDNN, the Nvidia driver and the packages you installed using conda earlier, to install using this wheel file without producing errors. Further CUDA, cuDNN, and the Nvidia driver would also be required while using PyTorch; so do not remove these from your machine.
pip install torch-1.10.0a0+git5060b69-cp39-cp39-win_amd64.whl
Now, when you have saved the 'whl' file, you may delete the 'pytorch' repo from your machine to save disk space.
So, there you have it. We have learnt how to build a latest version of PyTorch from source for use with older GPUs on windows.
I hope you found this article useful! Enjoy PyTorching 🔥🔥
Post your comment