
While the Anaconda installer for Windows is pretty useful, and comes with support for Jupyter notebooks pre-installed, you may end up with a number of python packages and other stuff which most likely you are not going to use for your project. It is always better to have a minimalist Python environment, and save disk space which you can use for other things.
Therefore, I am going to show you how to install Jupyter Notebooks in your Windows machine without the need to go for the Anaconda route.
First install Python for Windows by downloading Python from the offcial Python page.
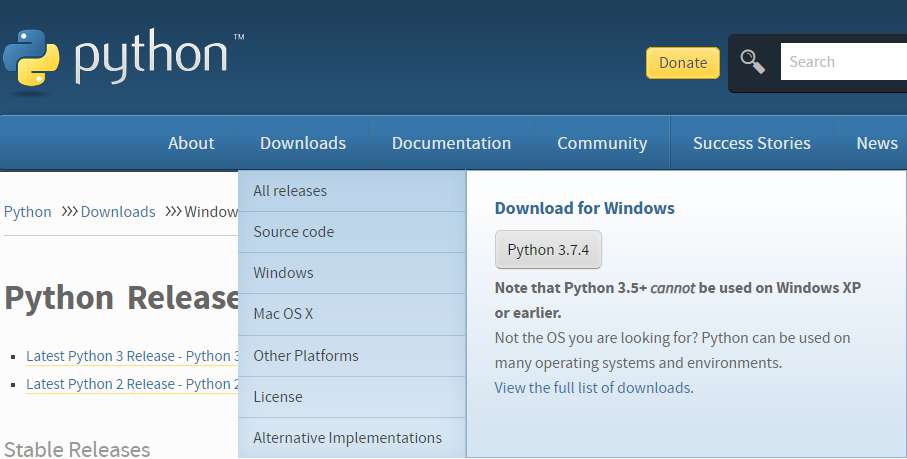
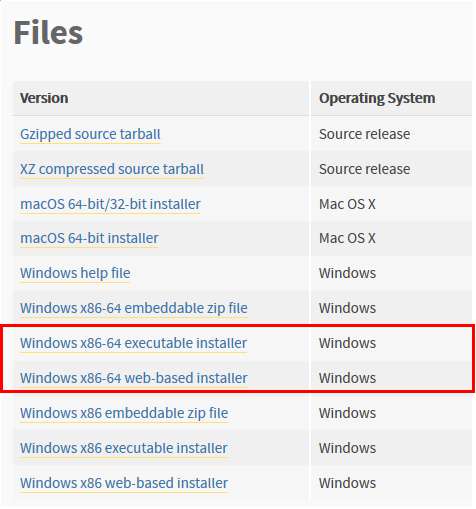
Please note that the default downloaded installer for windows is a Python 32 bit installer if you land on the page shown above. It is recommended that you download the 64 bit, because later on you may want to install packages such as TensorFlow which require the 64 bit of Python. To install the 64 bit you would need to go the page here.
Install Python by double clicking the dowloaded executable. Check Python has been installed by opening the command prompt (by pressing Windows + R buttons on the keyboard, typing cmd, and pressing enter)
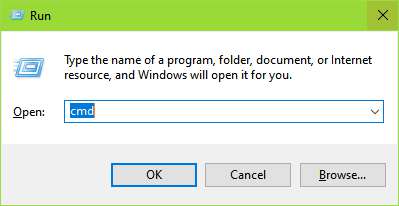
and enter python --version in the command prompt.
Z:\>python --version
Python 3.7.4
If Python has been installed correctly, you would see the Python version. Now install a package called 'virtualenv' by the following command:
pip install virtualenv
This package would allow you to create a virtual python environment. In the command line, navigate to the folder where you want to create your minimalist Python environment to install and run Jupyter.
Z:\>cd MachineLearning
Z:\MachineLearning>
The command to create a virtual environment is simple - Type virtualenv followed by the environment name. For example, I want to create an environment with the name Env1. So, I type the following in the command line and press enter.
virtualenv Env1
When the process has finished running, your environment would be created.
Z:\MachineLearning>virtualenv Env1
Using base prefix 'z:\\program files\\python\\python37-32'
New python executable in Z:\MachineLearning\Env1\Scripts\python.exe
Installing setuptools, pip, wheel...
done.
You can now activate your environment by typing the following:
Z:\MachineLearning>Env1\Scripts\activate
If your environment has successfully been activated you should see your environment name in brackets in the console as below.
(Env1) Z:\MachineLearning>
Now, it's time to install Jupyter Notebook in your environment. Type 'pip install jupyter notebook' in the console.
(Env1) Z:\MachineLearning>pip install jupyter notebook
This would download and install all the necessary packages to run Jupyter from your new environment. Wait for some time untill all the packages have been installed. Once done, type 'jupyter notebook' in the console:
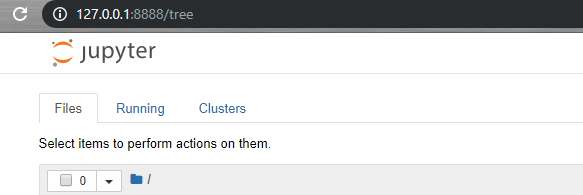
(Env1) Z:\MachineLearning>jupyter notebook
And lo and behold, you should have Jupyter Notebook running in your browser!!
Post your comment